😋 Fig Newt-Thin 😋
Take the packaged Fig Newtons off your Grocery List, you won’t need them anymore! I looked at the ingredients for every variety of Fig Newton (Regular, Fat Free, No High Fructose Corn Syrup, Whole Wheat, Fruit Thins, etc.) and realized they’re all filled with Gluten, Soy, & Refined Sugar (even the “No High Fructose Corn Syrup” packs). I don’t know who I thought I was, but I decided to get extra creative in the kitchen yesterday and make my own!
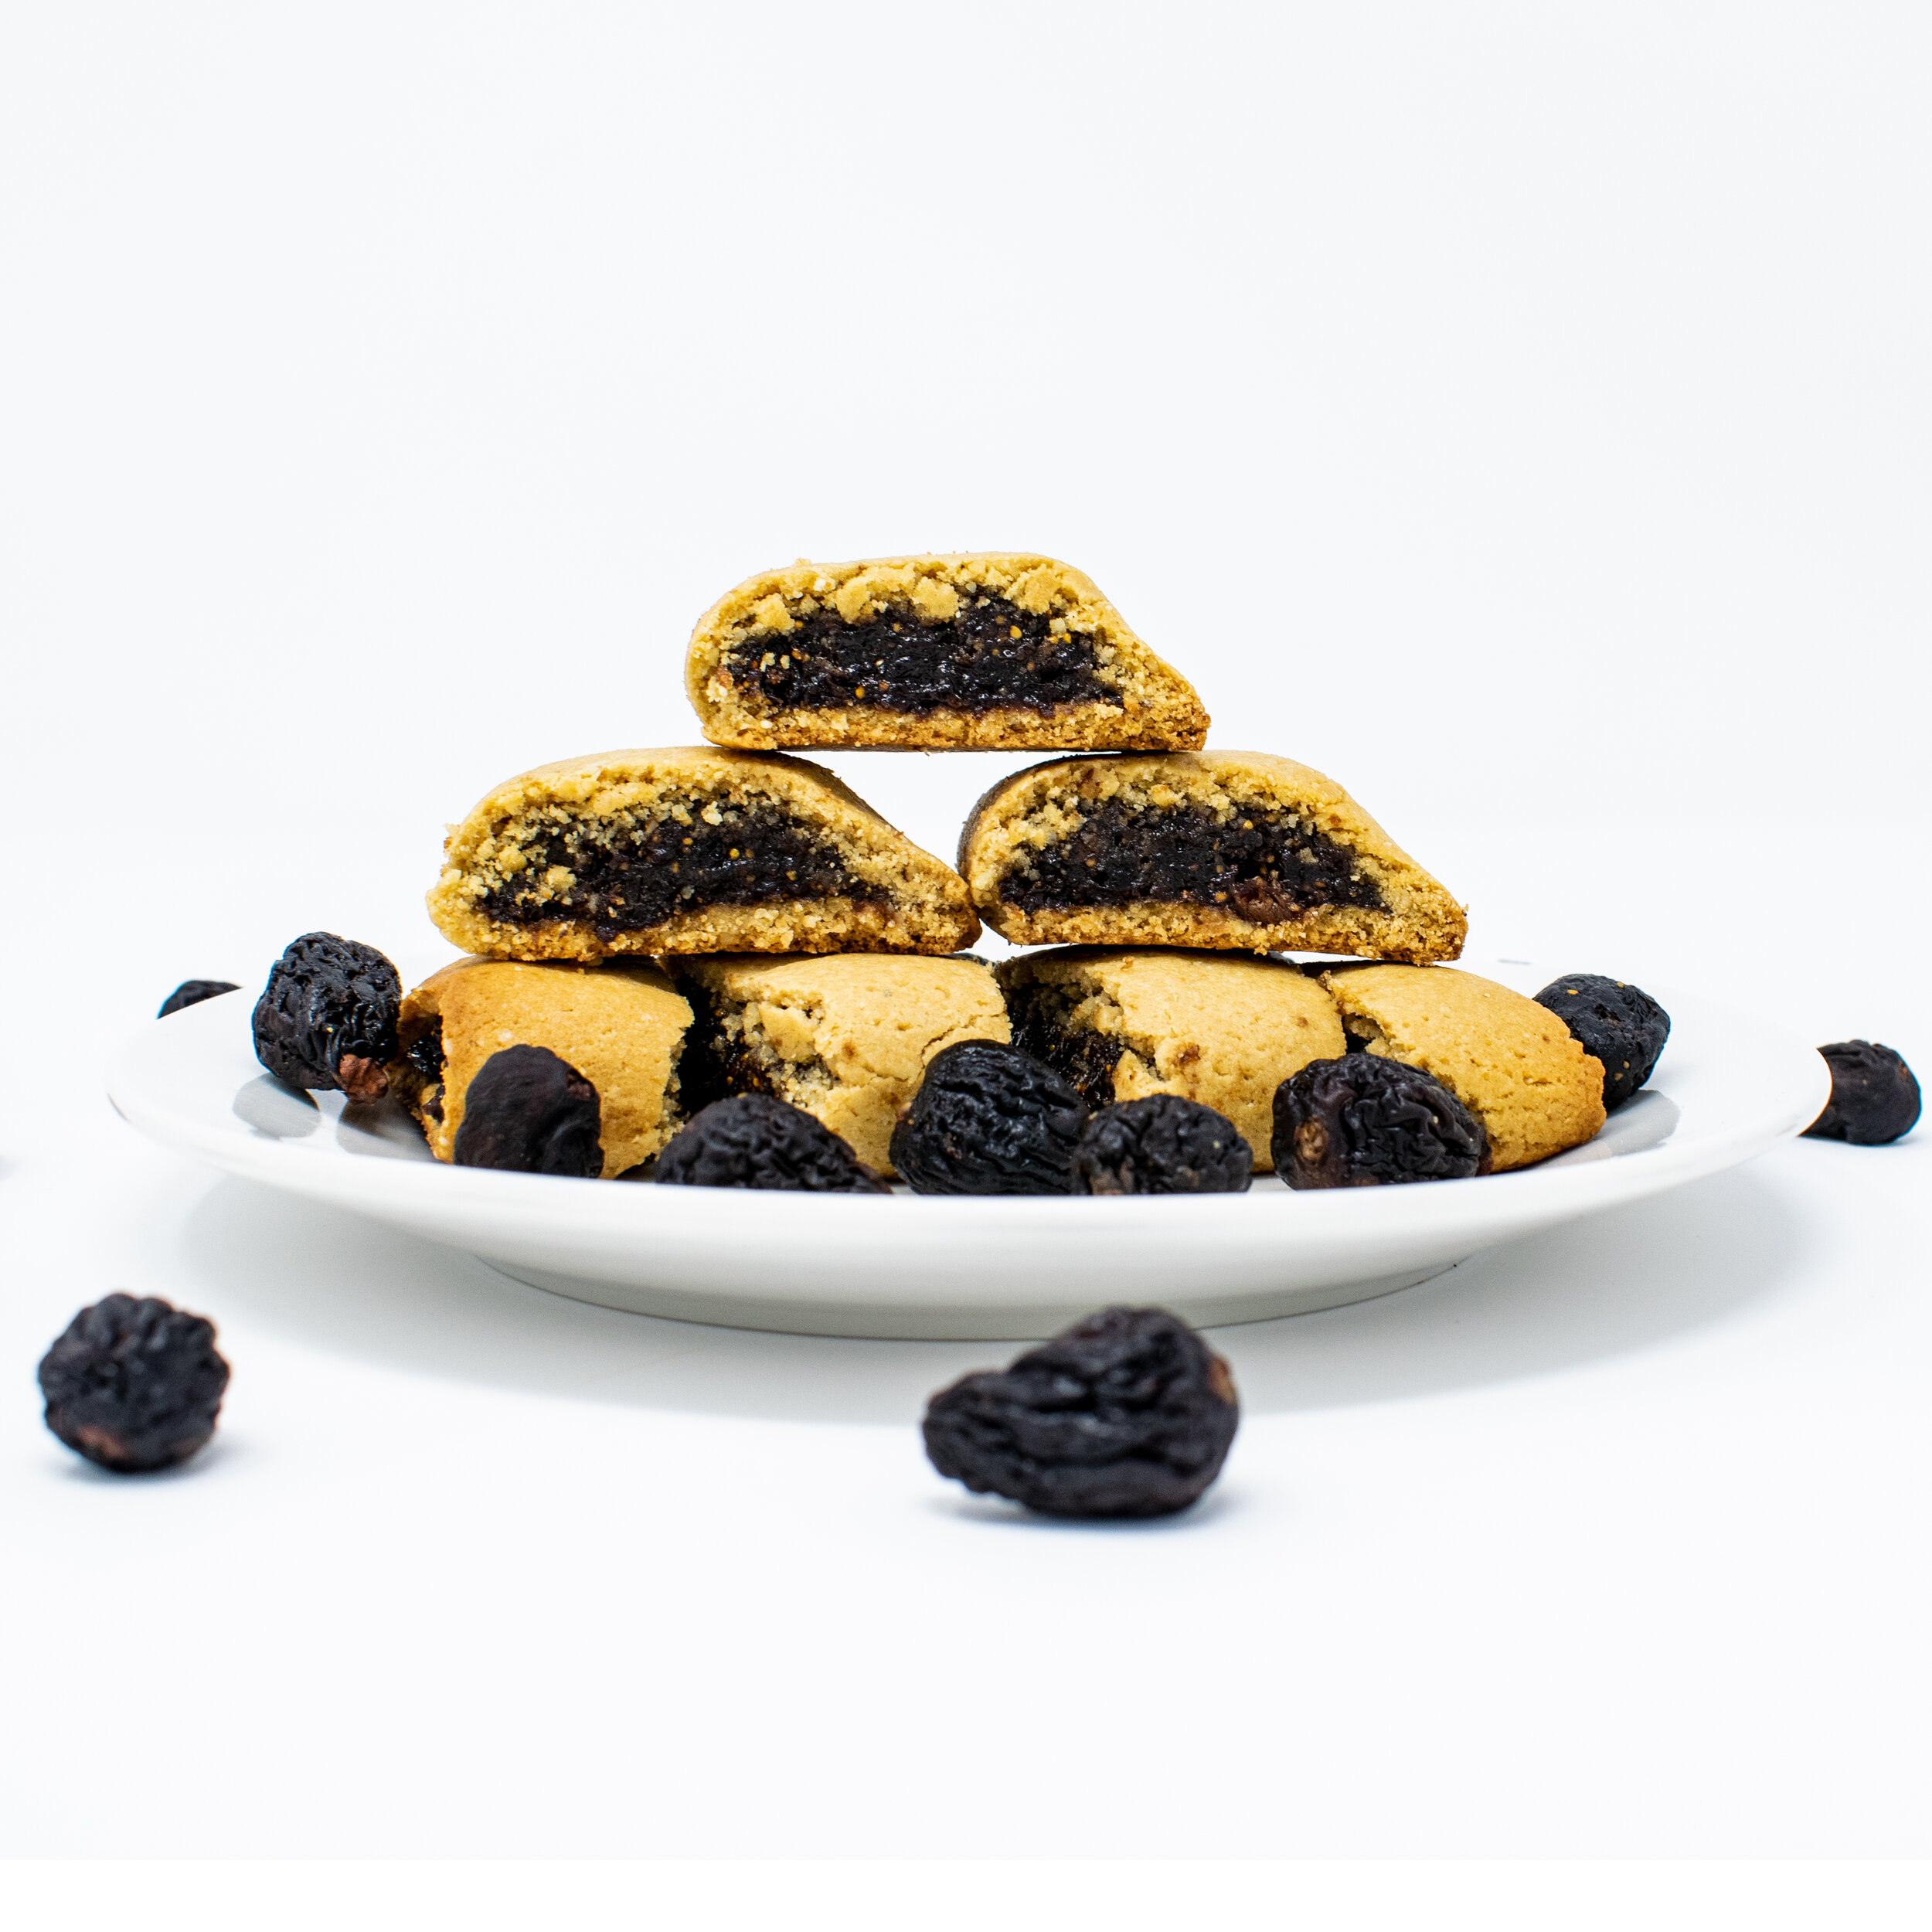
My first attempt went...awful The dough I made was too mushy for a rolled out bakery item, so I started again from scratch. The Fig Newton Gods must have been with me because on my 2nd attempt, I can confidently say, the cookies came out better than actual Fig Newtons! The crust is flaky, yet still soft, almost identical to (but legit better than) an actual Fig Newton! The Orange juice gives them such a fresh flavor, they taste like you literally picked them off a Fig Newton tree! I stepped mine up a bit more and double stuffed them because I never remember there being enough filling (and I was right)!
My boyfriend Jimmy was genuinely shocked by how delicious they were and ate about 7 to himself last night! He even admitted he “thought they were going to end in a fail” and couldn’t believe how they turned out once I presented him the finished product! The best part is, they’re completely Vegan, Paleo Friendly and free from Gluten, Refined Sugar, & Soy!
INGREDIENTS
For the Crust
1 Cup Almond flour
2/3 Cup Tapioca Flour
1/2 Cup Coconut Flour
1 tsp Baking Powder
1/2 tsp Baking Soda
Sprinkle of Salt
1 Large Egg
1/4 Cup Coconut Sugar
1/4 Cup Coconut Oil
2 Tbsp Maple Syrup
For the Filling
1 1/2 cups Dried Black Mission Figs
1 1/2 Tbsp Orange Juice(If you’re using a fresh orange, feel free to zest it and add that in as well!)
1/4 cup Maple Syrup
1/4 tsp Pumpkin Pie Spice
Sprinkle of Salt
INSTRUCTIONS:
Preheat oven to 350°F and line a baking sheet with parchment paper. Set aside.
Remove stems from Figs and dice them into quarters. Add Figs to a food processor and blend for a few seconds, then add all of the remaining filling ingredients and blend for 1-2 minutes. Be sure to scrape the sides down halfway through blending to ensure everything gets blended evenly!
Transfer your filling to a small bowl and set aside for now. Wash out your food processor and get all ingredients ready to make the crust!
In your cleaned and dried food processor, blend all 3 Flours together with your salt for a few seconds. Next add in your egg and maple syrup and blend until everything is combined. Finally, add in your coconut oil and blend one last time until everything is evenly processed!
Split your dough in half and transfer one half to a piece of parchment paper. Cover dough with another piece of wax paper and roll out into a 7x10” rectangle(1/8” to 1/4” thick). Take 1/3 of your filling and spread it over a 2-3” strip down the length of the right side your dough, staying 1/2” away from the edge.
Fold the fig-less side over top the filled side and use your fingers to press the edges together. Cut off any excess dough and save to create a 3rd set of cookies!
Repeat the process again with the other half of your dough, trimming off any excess. Lastly, create one last set of cookies by taking your excess dough and rolling it out into the biggest, sturdiest rectangle you can! Repeat the process using the rest of your filling. My 3rd rectangle ended up measuring about 7x6”, this one ended up being “double stuffed” for me and was honesty my favorite of the bunch!
Transfer your cookies to the parchment paper lined baking sheet, and bake for 14-15 minutes, until the edges are golden brown.
Remove from oven and allow to cool, then slice into 1” slices. Enjoy! Store in the refrigerator for 10-14 days(if they manage to last that long)!